Showing posts with label dessert. Show all posts

Thursday, October 6, 2011

Birthday Coconut Cake with Lemon Cream Cheese Frosting

Monday was my birthday. I’ve been a bit melancholy lately so I haven’t been in much of a celebratory mood, but I’d been thinking of making a coconut cake or pie for a while so I took the bull by the horns so to speak. Surprisingly, I had a really hard time finding a recipe for coconut cake that actually used coconut in the cake itself rather than just the frosting. I ended up mashing together two separate recipes (this one and that one) and I’m pretty happy with the result, although next time I won’t be lazy and I’ll actually make a real seven-minute frosting to go with it.


I'm very happy with my cake!


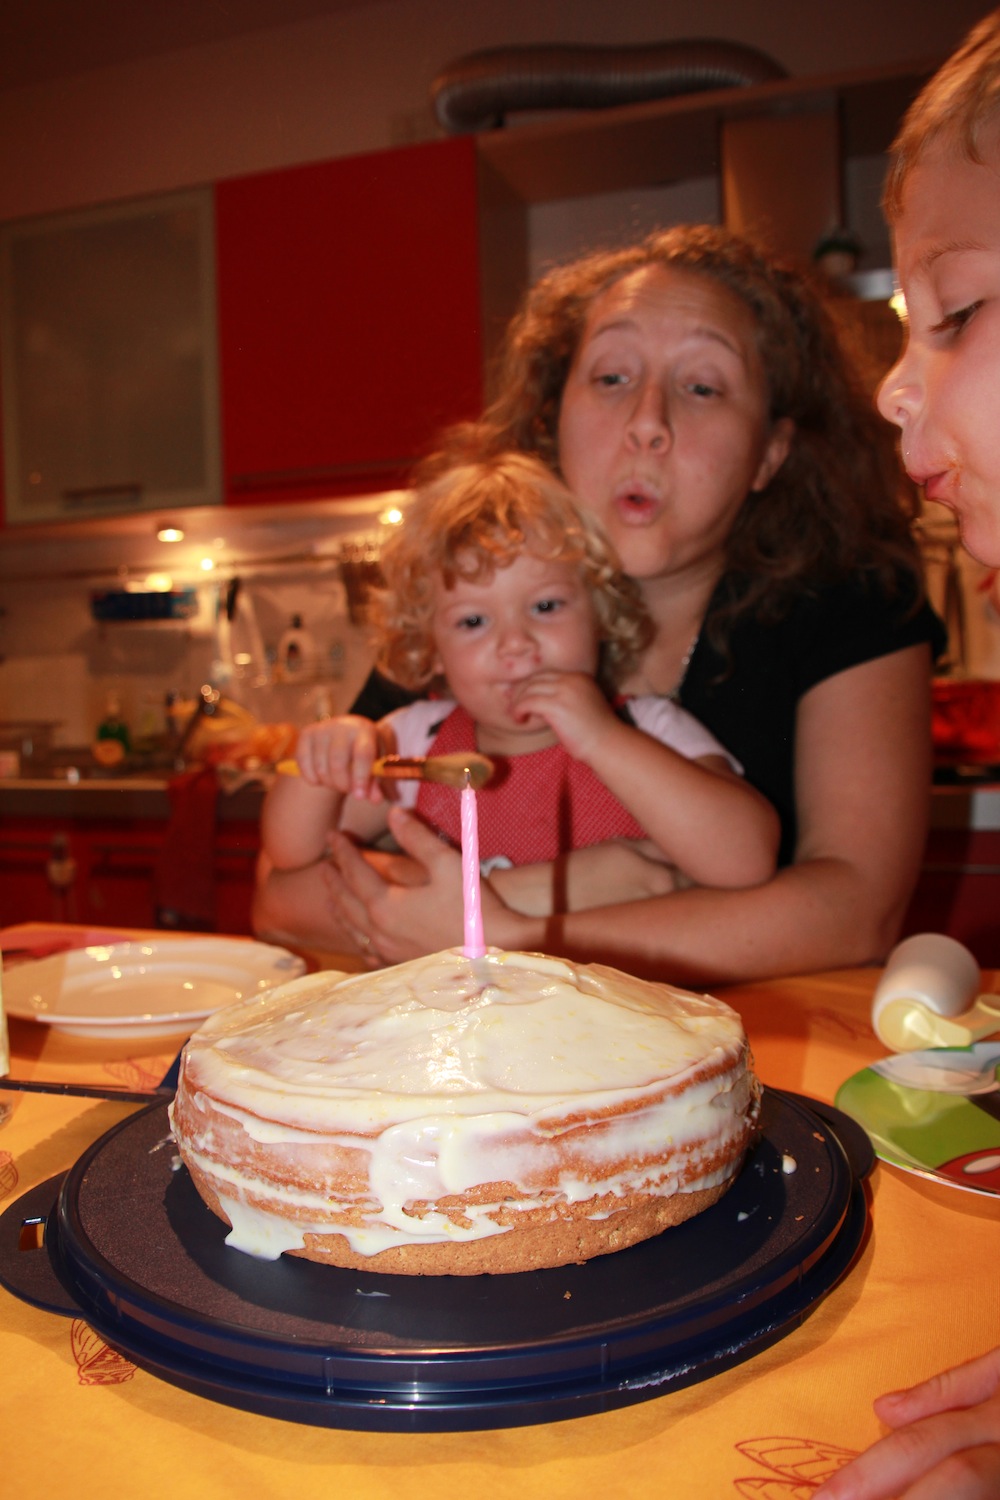
It's always best to get help when blowing out the candles.


A bonus: the cake itself is dairy-free, cause it uses coconut oil rather than butter. I haven’t found a really great dairy-free frosting recipe, but don’t despair I’m still researching!

For the cake:

This is what you need:


6 eggs
300 grams (1 ½ cups) coconut milk
45 grams (7 Tbsp.) grated coconut
200 grams (1 cup) raw cane sugar
1 gram (1/8 tsp.) salt
16 grams (4 tsp.) baking powder
200 grams (1 cup) coconut oil, melted
250 grams (2 cups) flour – I like to mix and match flours so this time I used 75grams whole wheat flour, 60 grams spelt flour and 115 grams regular cake flour, this combination turned out great, the cake was soft and fluffy and had pretty beigish color that I prefer to just plain white.

This is what you do:


Preheat oven to 175°C (350°F). Grease two 9-inch cake pans with some coconut oil – or get a really short person to do it for you.


First things first: stir the grated coconut into the coconut milk and let it soak while you get everything else ready.


Separate the egg whites from the yolks and beat egg whites until stiff (like whipped cream).


Put the yolks in a larger bowl and add the sugar, salt, and coconut oil mine was a bit hard cause it’s starting to get chilly here so I put it in the microwave on high for ten seconds, it wasn’t actually melted but it was soft, I didn’t want to add warm coconut oil to the eggs lest they start cooking. 


Beat everything together till smooth.


Stir the baking powder into the flour mixture, and add to yolk mixture. Add the coconut milk with the shredded coconut. I like to alternate wet and dry ingredients since most recipes ask you to do this, so I alternated the flour and the coconut milk but not sure that it’s actually necessary here. Beat until well combined and remember to scrape down the sides and bottom well while mixing.


Gently fold your egg whites into the batter and pour the batter evenly into your pans. Bake 30 minutes, or until a toothpick inserted in the center comes out clean.


Let the cakes cool well before icing.


For the lemon cream cheese frosting:

This is what you need:

150 – 160 grams Philadelphia cream cheese
120 grams (1 packet – 1 cup) confectioner’s sugar
1 large lemon
2 TBS coconut milk

This is what you do:

Beat the cream cheese until well combined and fluffy
Add the powdered sugar, lemon zest, lemon juice and coconut milk. Mix well, but don’t overbeat or it’ll get runny. Spread a thin layer of the filling on top of each cake.
At this point you can make 7 minute frosting (I don’t have a recipe up, but it’s very basic and easy to find) and use that and some grated coconut to make it look really awesome.


I wanted something lighter so I just lightly frosted with the lemon cream cheese, doesn’t look as good, but tastes great!

It helps to have eager dishwashers afterwards:


Of course, you must try it right away: 


Happily it was pronounced very good:


And then of course presents were opened:


Linking up with Alli-n-son today for Sweet tooth friday!

Monday, February 21, 2011

O melhor bolo de chocolate do mundo and other things I learned in Sao Paulo

We’re back from our trip but, as promised, I have a few more interesting, yet totally inane, facts I learned in Sao Paulo, that I wanted to share with you before going ahead and forgetting all about them (I am not renown for my stellar memory).
As an aside to the wait-staff bit in the previous Sao Paulo post, we went to a restaurant (Rufino’s – awesome fish) where, going along with the marine motif, the waiters’ uniforms were similar to ship captains’ uniforms and had stripes on the jacket sleeves.  So halfway through the meal I noticed that some jackets had two stripes, some had four, some six and some none at all and after a few minutes of thought I realized that the stripes reflected each waiter’s position in the Brazilian wait-staff hierarchy… no stripes clears the table, two stripes takes care of drinks etc. Handy.
Despite the fact that we managed to leave with no less than three suitcases, I didn’t really have a lot of room for toys and had decided to buy a few things there to entertain the kids during our stay. So on our first day we decide to fight the jetlag by taking a brisk walk in the heavy humidity in search for a toy store and found out something astonishing. Legos are insanely expensive. Insanely. Expensive. Like three to four times as much as in Europe, possibly even more compared to the US. Considering my kids love legos, which provide hours and hours of entertainment (hence, I love legos too) I was sorely disappointed and kind of at a loss as to how to remedy this problem. But then I realized, hey, I’m in Brazil, the land of cheap, good quality imitations of name brand stuff so I found imitation legos at a great price. They don’t click together with real legos perfectly, but that provided many extra minutes of entertainment in itself. Who would’ve thunk it! The lesson here? In Brazil, anything that they can slap an import tax on will become too costly to make it worth the expense. On the other hand, if it’s produced in Brazil it will be much, much cheaper – like the new stroller I bought (a Brazilian brand that belongs to Peg Perego) and surprisingly, the Cars cars.
Another thing I noticed this time, and in truth I seem to notice it every time I go to Brazil, but then I forget about it, so it’s a novel experience the next time I go to Brazil and notice it once again, is how slow everyone is here. I’m not being derogatory, it’s just a fact. People move more slowly than they do around here, I kept getting startled glances as I overtook people on the sidewalk, like “Whoa Nellie! where’s the fire?” and then they’d look amused to see that that was just the way I walked. They generally move more slowly, you ask for a coffee and the barista looks like he’s moving in slow motion. Initially, it’s very frustrating, I spend the first few days wanting to constantly scream “come on, Come On, COME ON!” while clapping my hands together angrily at people as they do things at their leisurely pace and I’m tapping my foot away in agitation. But then thankfully I start to relax, and get into the mind set of “eh, what’s the rush?” otherwise I’d literally go insane, or get arrested for assaulting someone out of sheer frustration. Neurotic? Maybe.
One of the things I loved, loved, about Brazil is a place called the “Poupatempo” – the time saver – I loved this because I live in a third world country (no, not developing country, but honest to goodness third world like we haven’t seen since colonial times) where the whole concept of a government office doing anything to save you time is so contradictory that we can’t even image such utopia. Whereas in Brazil, there’s one place where you can get all your documents (except for your passport), you can pay your taxes, you can get your voting status updated, you can get all of your records (criminal or whatever). All in the same place. You can even get your picture taken there and pay all the necessary fees. All in the same place. This may seem obvious to many of you, but I’m betting you don’t live in Italy, I wrote about this very subject here if you’re interested on a little background. Anyway, I was amazed. I didn’t manage to get what I needed, cause I have to go to the consulate first, but still. Oh, and there’s a large, fully manned information desk as soon as you walk in, along with an extremely clear, color-coded map of where you need to go to get what you need and little colored lines on the ground, that you follow to actually physically get there. Amazing.
I took the kids to a great, big, gorgeous park with a lake and swans and all in the center of Sao Paolo one morning when in the throes of a pretty severe bought of cabin fever, and saw this amazing sight:

I just had to take a picture because I swear to you, I had no clue that someone somewhere had come up with the absolutely most ridiculous way to make money off of people who have no control over their spending habits. The dog stroller. Never, for the life of me, would I have been able to fathom such a thing if it hadn’t been paraded right in front of me. My mother later proceeded to tell me that not only had she already seen them around, but they made sense for dog owners, particularly of the small dog variety. I was flabbergasted and could come up with no sane response on two feet, but now that I’ve had time to think about it… really? Really? You need to buy your dog a stroller? I mean I have children, human children, and I can’t wait to get rid of my damn stroller cause it’s such a pain in the ass to lug around, though, admittedly, less of a pain in the ass than lugging around the children, but as soon as they can walk for any extent of time without whining the entire way the stroller goes to charity. And yet there are people out there who buy strollers for their dogs. It’s a damn dog, for crying out loud, it’s got four paws, two more than humans, so as far as I’m concerned it should walk. In fact, the saying is “walking the dog” not “strolling the dog”.
And lastly, near my Vovo’s house (101 year old Grandma) there’s a small shop called “O melhor bolo de chocolate do mundo”. You would hardly notice it, in fact, I hadn’t ever noticed it on my previous trips. But once you read the name “The best chocolate cake in the world” it piques your interest, and you really want to find out if it’s true. So our last day there, under a heavy drizzle, we went to try it. I’m not a chocolate cake fan, so I don’t know if it actually is the best chocolate cake in the world, but it was pretty darn good. If you don’t believe me, just ask the Girl.

Tuesday, November 2, 2010

Easy peasy cream cheese frosting

I use this a lot, so I figured I'd give it it's own post so I don't just keep repeating myself over and over and boring you into a stupor!
This is what you need:
150 – 160 grams Philadelphia cream cheese
40 – 50 grams butter (softened)
120 grams (1 packet – 1 cup) confectioner’s sugar
Depending on what you're frosting you can also add powdered cinnamon or pure vanilla extract, or almond extract. It is also a good base for flavored frostings like chocolate cream cheese frosting.
This is what you do:
Beat together cream cheese and butter until well combined and fluffy (smitten kitchen says to soften cream cheese too, but I find that cold cream cheese makes for a thicker frosting – as suggested by the Joy of Cooking) add vanilla if using.
Sift in sugar (and cinnamon, if using) and beat until well mixed, but don’t over beat cause it’ll get runny.
Try and wait for your cake to cool before frosting….

Healthy Carrot Cake


Sunday the husband wasn’t feeling well so I decided to bake him a carrot cake to cheer him up. This version is loosely adapted from the Joy of Cooking, though I modified it to make it a little healthier and more kid friendly. Luckily for me, my toddler doesn’t like overly sweet cakes so I substituted part of the sugar and part of the oil with applesauce (this also makes it more diet friendly for me!) Carrot cake is so easy to make and so satisfying there’s really no reason not to bake it every week… well, you know, if you’re naturally skinny or have a lot of self-control or can stand to eat it with no icing… I can only get away with it once a month or so but it’s so worth it!
This is what you need:
200 grams (1 ½ cup - 7oz) whole wheat flour (this’ll make it slightly denser than all purpose flour, but it’s still moist thanks to the applesauce)
100 grams (½ cup – 3.5oz) sugar                             
10 grams (1 ½ tsp – 0.35oz.) baking soda     
5grams (1 tsp – 0.2oz.) baking powder
1 tsp ground cinnamon
½ tsp ground cloves; ½ tsp ground nutmeg; ½ tsp ground allspice
½ tsp salt
½ cup vegetable oil
3 large eggs
200 grams (1 cup – 2oz.) spiced apple sauce
200 grams (2 cups – 4oz.) freshly grated carrots
55 grams (1 cup - 2oz) finely chopped walnuts or pecans (I used the latter) - optional
1 handful golden raisins (if they’re the largish kind chop them up a little bit) - optional
This is what you do:
Preheat your oven to 180°C – 350°F
Mix together all your dry ingredients (follow the list down from flour to salt) in a big bowl.
Add in your wet ingredients (oil, eggs and applesauce) and mix by hand or beat on low speed.
Add in carrots, nuts and raisins and mix by hand.


Butter and flour your round spring-form pan, pour in the mixture right away and spread evenly.
Bake 25 – 30 minutes until a toothpick inserted in the center comes out clean. Let cool for 15 minutes then take out of pan. Frost when completely cooled!

Thursday, October 28, 2010

Spiced Applesauce Cake


I got this recipe of the Smitten Kitchen website (surprise, surprise) and as usual it came out fantastic, so had to share. Plus I had promised many posts featuring apples and pears, right? You may be relieved to hear that I’m halfway through the three crates of apples and pears I got from my friend (mostly cause I’m cooking and pureeing for the baby like Gerber’s is going out of business) so I’ll hopefully be changing subject matter in the near future. For now, this lovely, easy cake.
This is what you need:     
A square non-stick cake pan  - I used a heart-shaped one cause I was feeling whimsical today!      
365 grams (1 ½ cup – 13oz) applesauce (I made a mix of spiced apple and pear sauce, will be posting the recipe for this asap on Moomser Baby)
½ cup crushed pecans (the original says walnuts, but I had pecans…)
250 grams (2cups – 8 ¾ oz.) all purpose flour         
10 grams (2tsp) baking powder
3 grams ( ½ tsp) baking soda
3 grams ( ½ tsp) salt
2 grams ( ¾ tsp) cinnamon
1 gram ( ½ tsp) ground ginger (I also added the same amount of ground nutmeg, ground cloves, and allspice)
115 grams (1 stick – 4oz) unsalted butter – softened
215 grams (1 cup – 7 ¾ oz) light brown sugar (as usual I would put less sugar cause it was too sweet for my palate, next time I’ll stick to no more than 180grams)
5ml (1 tsp) pure vanilla extract
2 eggs – room temperature

This is what you do:
Preheat oven to 180°C (350°F)
Beat together butter and sugar until soft and fluffy (took me at least 10 minutes, but my sugar was quite coarse, keep an eye on it).
While that’s beating, measure out your dry ingredients. And butter your cake dish.
Then add eggs to wet ingredients one at a time and beat well in between. Add applesauce.
Put your mixer on low and add in the dry ingredients and nuts and mix until just combined.
Bake for 30 to 40 minutes until tester inserted in the center of the cake comes out clean – it took me 30 minutes, so check on your cake often!
 
Let it cool for 15 – 20 minutes and take out of your pan to let it cool completely. You’ll notice that my cake is cracked… I took it out too soon, so be patient!

You can serve this with cream cheese frosting:
This is what you need:
150 – 160 grams Philadelphia cream cheese
40 – 50 grams butter (softened)
120 grams (1 packet – 1 cup) confectioner’s sugar
1 tsp pure vanilla extract
1 tsp cinnamon
This is what you do:
Beat together cream cheese and butter until well combined and fluffy (smitten kitchen says to soften cream cheese too, but I find that cold cream cheese makes for a thicker frosting – as suggested by the Joy of Cooking) add vanilla.
Sift in sugar and cinnamon and beat until well mixed, but don’t over beat cause it’ll get runny.
Try and wait for your cake to cool before frosting, I obviously didn't….


Tuesday, October 12, 2010

Apple Strudel

I got a whole lot of apples from a friend who has apple trees and doesn’t know what to do with all the damn apples that all come in at the same time (lucky me!) so… you’ll be seeing apples heavily featured in the next few posts (pears too, got lots of pears as well). I do, of course, cook and purée most of these totally organic, free fruits that I occasionally get (one of the pleasures of living in the country!) for the Girl and Boy but there’s only so many fruit jars you can stick in your fridge, freezer and cupboard before you start looking insane, so the excess fruit gets eaten by the adults. Not a bad compromise.
This is what you need:
4 large apples whatever you think cooks well, mine came from a friends’ apple tree and neither of us know what they are called (and am too lazy right now to do an internet search, sorry…)
Puff pastry sheet – in Italy I use the ready-made, refrigerated not frozen, Buitoni pasta sfoglia rotonda. It’s a round sheet of puff pastry approximately 25cm (10in.) in diameter. Use whatever you like, frozen is fine too (defrost it!) you can even make it yourself, but I can’t help you there yet… maybe in a few years!
½ cup brown sugar – the recipe I followed called for 1 cup sugar, which is what I used, WAY, WAY too sweet!
1cup raisins (ideally, golden raisins, but I had sun-maid so that’s why mine are so dark)
1tbs cinnamon - 1tsp vanilla extract -  1 lemon - 1 egg yolk
The husband would have like some pine nuts, or almond slivers too, but there was nary a one to be found in our house so can't tell you how that would have done, but I think it would have done quite well...
This is what you do:
1.       Peel, core, pit and slice 3 apples, then grate the 4th apple. If you’re going to peel and cut the apples and then get distracted, like I tend to do, I suggest you stick them in a bowl of water with a little lemon juice as you go so they don’t get all dark and ugly, though it is just an aesthetic concern as the darkness and ugliness of your apples in no way affects the final product.
Buuuuut, don’t put the grated apple in the water, just drizzle it with some lemon juice, it’ll still get dark, but it gives it a nice tangy note.
2.       If you’re using nice plump golden raisins, you’re good to go, but if your raisins are a little dry and sad looking (like they’ve been sitting in your cupboard, ignored, for years) soak them in a some water for a few minutes and they’ll plump right up, I like me a plump raisin.
3.       Drain your cut apples (NOT the grated apple!) and your raisins and mix in a bowl with sugar, cinnamon, vanilla and any lemon juice you’ve got left (just a few drops are fine)


4.       Now spread your puff pastry on a sheet of parchment paper on a shallow baking pan, I prefer metal ones to glass or ceramic because I feel that they heat better on the bottom and the puff pastry cooks more evenly.
5.       NOW get your grated apple (finally) and spread it down the center of your pastry, and then arrange the rest of your apple concoction on top. If you’re using a round pastry you want to make a rectangle with your filling down the center, so you’ve got two larger semicircles on the sides and smaller ones on the ends.
6.       Delicately close the pastry on top of the filling and wet the top edge with your fingertips so that it sticks to the bottom flap. And then close the two ends.
7.       Paint on your egg yolk, I actually forgot to, it doesn’t change the taste at all but it’s just not as pretty. Finally, cut steam vents on top.
8.       Stick in oven for 30 - 35 minutes*

*About cooking times: When I’m baking I tend to always set my timer a few minutes earlier than the cooking time indicated (in this case, I set it at 25 minutes) so that I can check on whatever I’m baking, as I’ve learned that you can always keep baking something, but you can’t unbake once you’ve burned it… imagine that… in this case I baked it for the full 35 minutes.
*I have a ventilated or convection oven, so it tends to cook faster than unventilated ovens. Just so you know.